

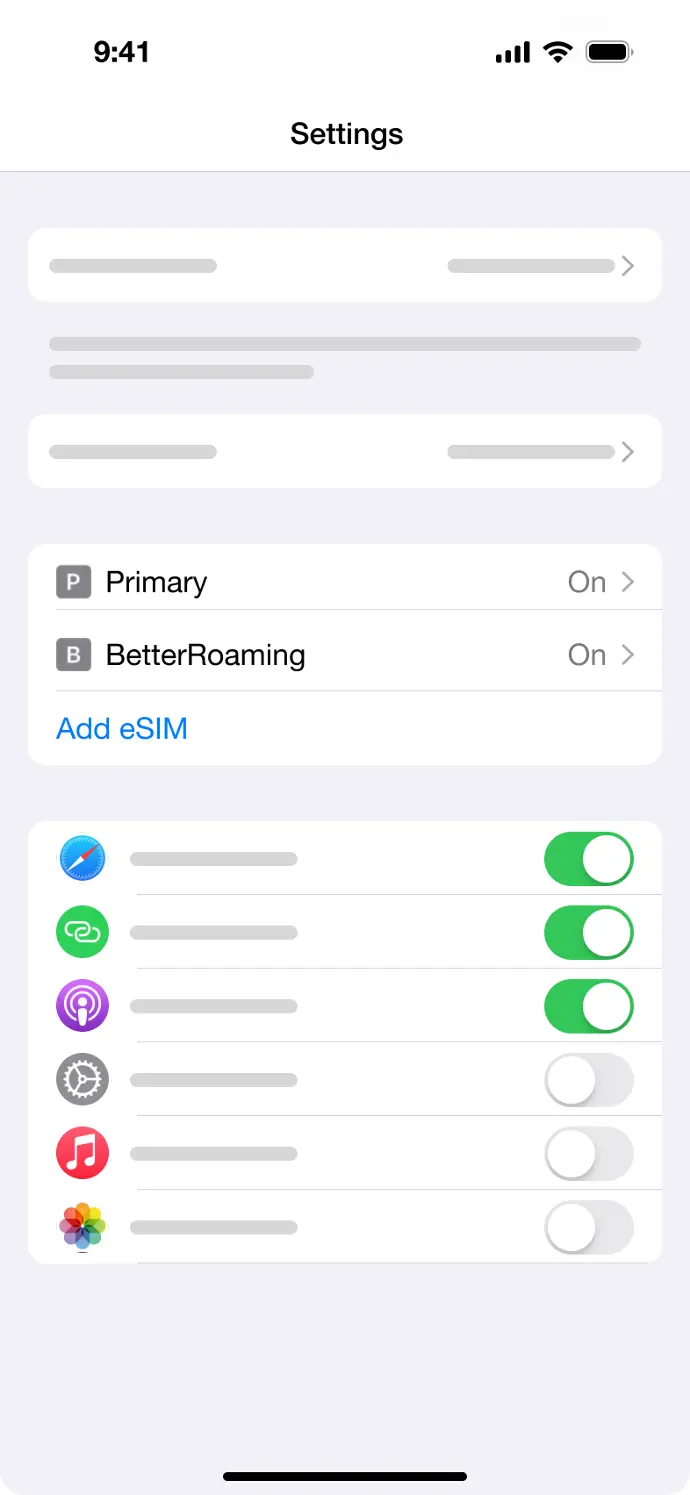
Open Settings on your iPhone and select "Mobile Service"/ "Cellular"
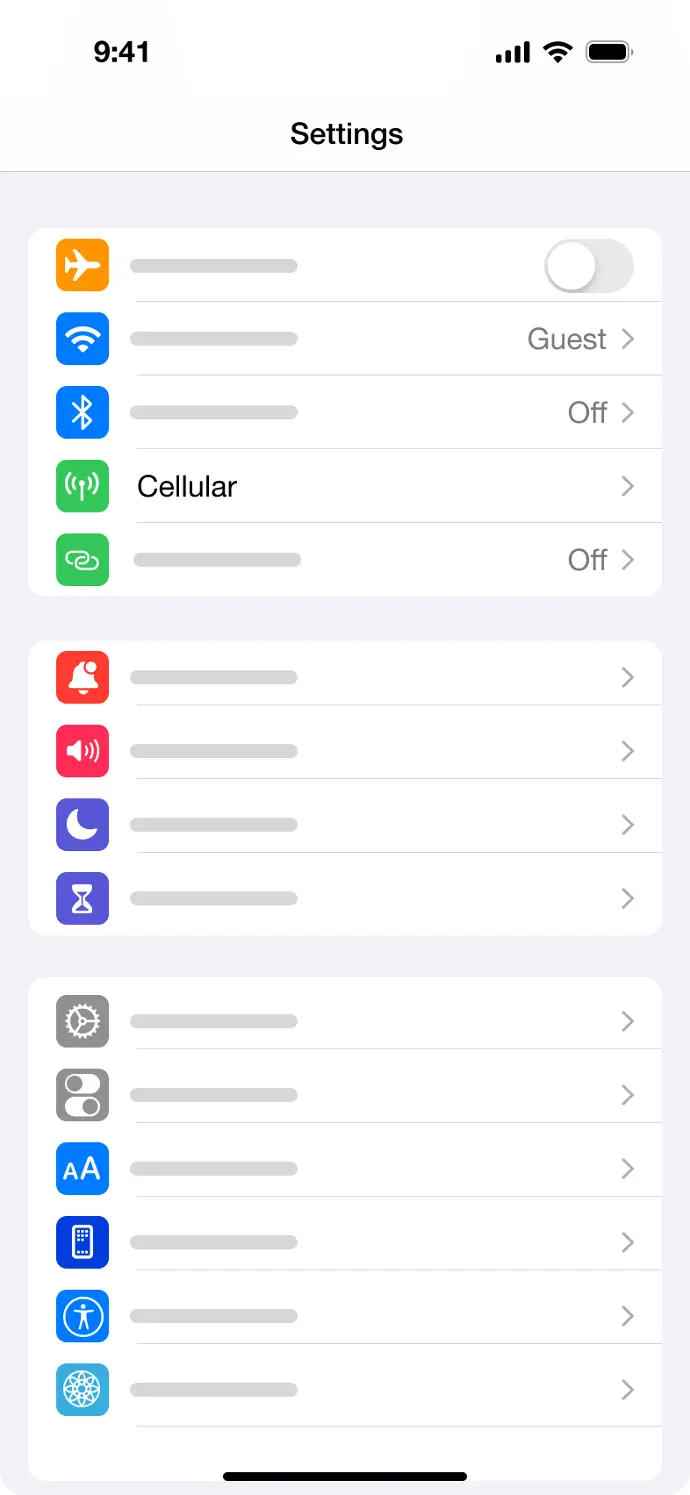
Make sure the Roaming is turned on
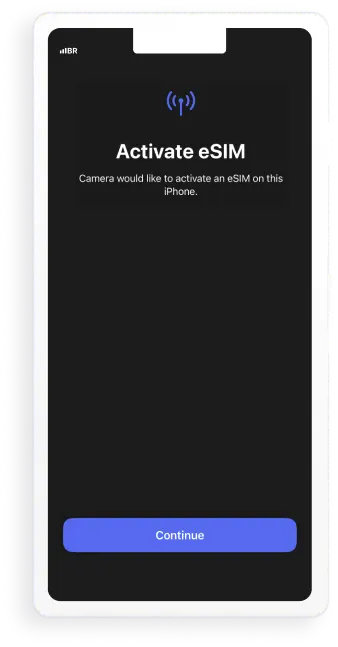
scan the QR Code using your camera. Make sure you have a stable internet connection.

Follow the installation flow on your device.
...and switch the timeline contents to fit your needs.
Use this timeline as a part of your resume, to show your visitors what you've done in the past.
iPhone
Installation with QR Code
Insert text styles like headers, bold, italic, lists, and fonts with a simple WYSIWYG editor. Flexible and easy to use.
Customization tool
Click and change content directly from the front-end: no complex back end to deal with.
Building blocks system
Create your page from scratch by dragging and dropping pre-made, fully customizable building blocks.
Android
Installation with QR Code
Samsung | Installation instructions:
Step 1: Install eSIM
- Go to “Settings”, tap “Connections”, then tap “SIM card manager” on your device.
- Tap “Add mobile plan”, then tap “Scan carrier QR code”.
- Scan the QR code, then tap “Confirm”.
Step 2: Access data
- Go to “SIM card manager”, then turn on your eSIM by enabling the toggle, then tap “OK” on your device.
- Select your eSIM for mobile data, calls and messages.
- Go to “Connections”, then tap “Mobile networks”.
- Enable the “Data roaming” toggle.
- Tap “Network operators”, tap the “Select automatically” toggle then choose the supported network manually if your eSIM has connected to the wrong network.
- APN
The APN is set automatically. - Data roaming
On